Glassing: Looking for Wildlife in the West
2015 Hunting Season Review – Deer & Elk
May 29, 2016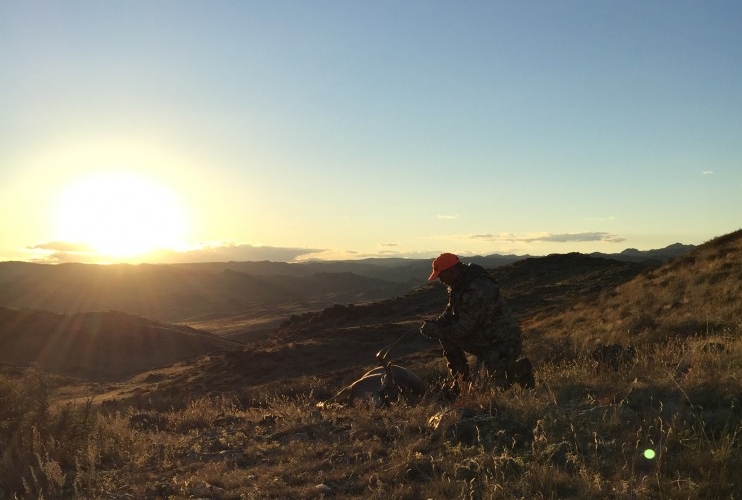
Cross C Ranch Outfitting Video
January 2, 2017
We get a lot of questions and comments as guides as to our methods of looking and scouting for game. What equipment do we use? How do you apply the use of that equipment to real world field applications? What are some tips that will make you a more successful locater of game?
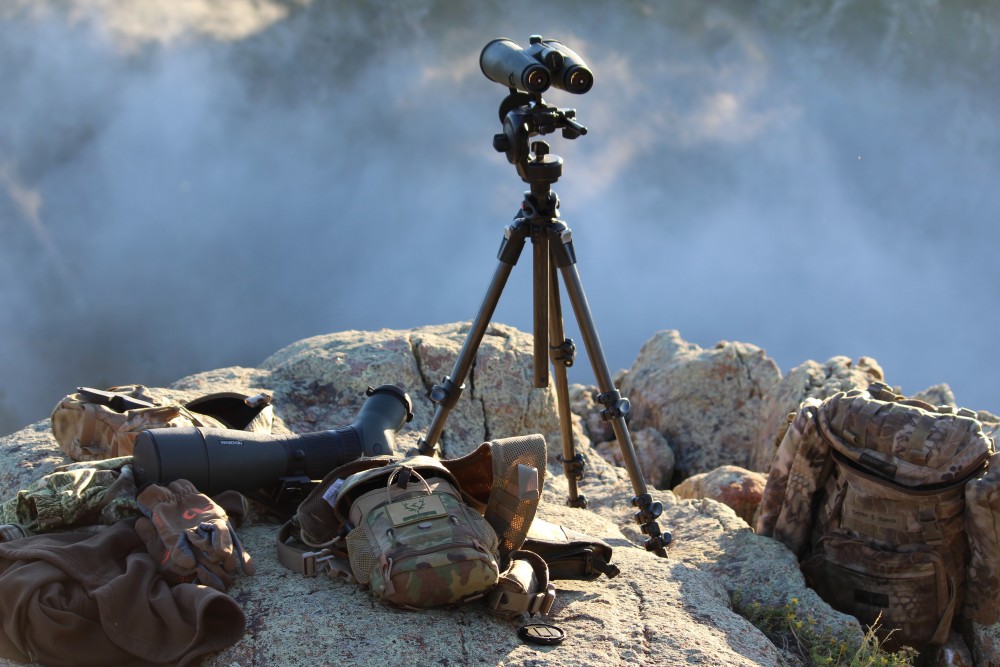
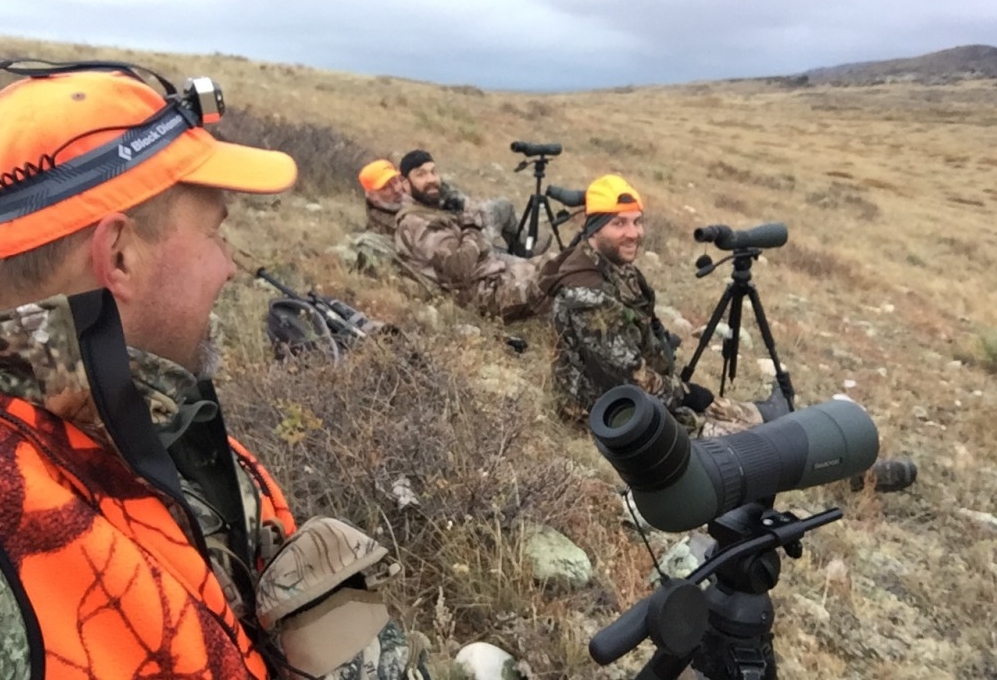
There are a ton of great articles out there that go through every thoughtful detail of glassing for big game. We will share with you our two cents on the matter as well as what a handful of real world guides have to say that may help on your next hunt. The picture above is a pretty good representation of an optics camp, a glassing spot, or a typical lookout point if you will; wherein we are implementing every known technique to “letting your eyes do the walking for you.”
Some of the major and most talked about points are of course…
- Your Kit (Binos, Spotting Scope, stable and useable tripod & supporting equipment)
- Comfort in your actual location = time behind your glass
- Location, Location, Location
- Technique & Visualization
Your Kit:
Probably the most common and prolifically talked about subject here is “what brand or type of glass do you use.” Well, lets just get that out of the way first, by stating that plenty of people have success with various types of optics. Some speak for themselves and others leave you wanting (especially when you get to glance through an elite level optic.) Getting the most glass or most effective optics you can afford is absolutely evident when you come out west to open and complicated landscapes. Animals move at random times during the day and if you can spot the critters not only when they are on the move, but also in their beds or feeding areas, then you have taken your game to a different level. With animals like Mule Deer and Elk, that can be patterned either early or late in the season, being able to study and observe those patterns can also be extremely useful.
As guides at the Cross C Ranch we prefer elite level glass in the most ergonomic, lightweight and dependable packages. Before and during the season it is common that we will have to hump those optics and all their accessories all over the place, so something overly bulk & heavy just makes the trips and hunts less enjoyable. Glass that is “comfortable” and “enjoyable” to look through is a huge part or our kit selection. The more time you can stay behind your glass the more opportunity you have at seeing an animal stand from its otherwise concealed bedding spot, or catch a flicker of an ear or the shaking of a rack. If you have ever sat and glassed behind an optic and then on average come out of the experience fatigued or with a headache, then you know what I am referring to here. We could dissect the differences and various options of each optic brand and their models but there is tons of info out there on all of that, so we will stick to the main points here. In the end I am a believer that being truly effective with the glass that you have is much more critical than having thousands of dollars of glass that you can’t effectively use.
Dependability is huge. As i have stated, we drag our packs and equipment all over the place over bumpy, God awful roads in the back of UTVs and 4WD vehicles. Our packs get tossed around and squeezed and sat on with countless thousands of dollars of equipment inside them. Sometimes it makes me cringe to think, but our glass and equipment is counted on for lots and lots of hunts that folks pay hard earned money to go on and have the times of their lives, so dependability is a huge issue. 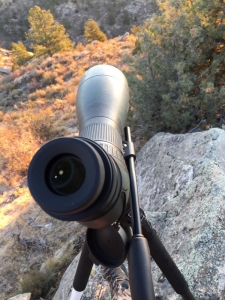 I guided and hunted almost an entire season with a spotting scope that had a visible large crack on an interior lense after taking a nose dive off a rock formation and I thought I was in really deep doo-doo until I could verify that I was able make it through the season with the scope until I had time to send it back in for repair. Would there have been worse or less damage with a different optic? I hope to never know that answer, but I was impressed in a way that I didn’t think I could be after that season.
I would have to say that our basic kit has evolved over the decades at the Cross C Ranch. Our binoculars went from remaining on your person, or on your chest full time, to getting put on a tripod. Our spotters went from something that you used mainly at the gun range, or something that sat in the back seat of the pick-up to a “I wouldn’t go anywhere without” or “I need this with me on that stalk” piece of gear. We now use eye patches and butt-pads or seats and brag to each other about the comfort of each. The customization and personalization of our optics is now something to laugh about. Each person prefers a different power or objective size or magnification range. Back in the day it was fun just to have “the spotter” along with you to take a better look at that buck or bull! We even have dedicated gloves and scarves that are must haves when you are on a glassing point.
An excellent tripod and tripod head is key to your setup. This might be debated and talked about as much as our choice of optic. A nice tripod setup that you are able to switch out and integrate your binos, spotter and even camera setups with is key. Going back and forth between your binoculars and spotter is something we regularly do when glassing, and making this task easy and quick to do is important.
Comfort:
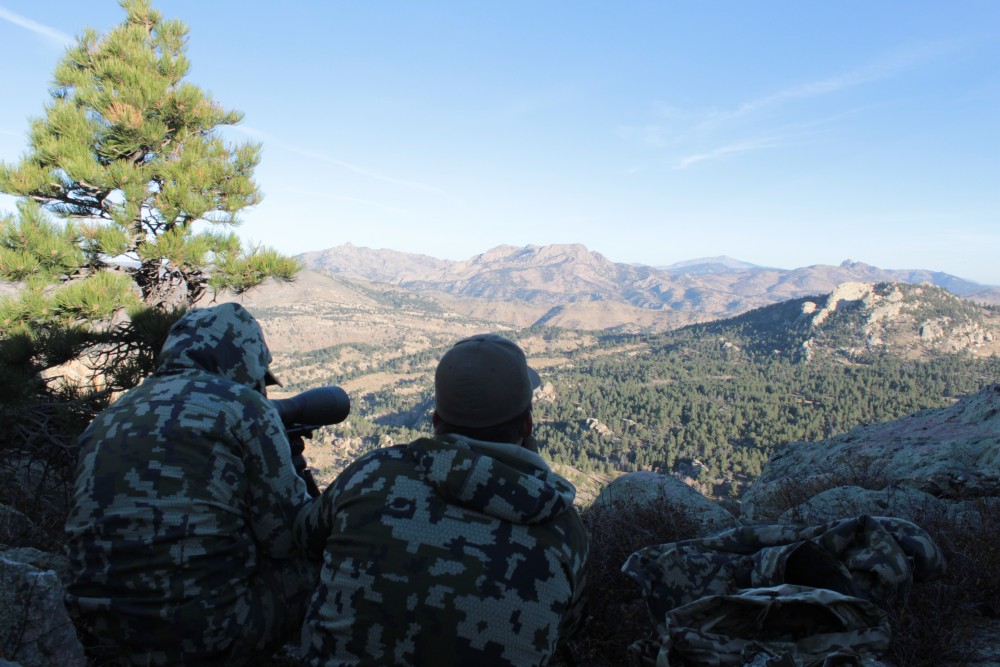
This one seems simple, but i can assure you it is overlooked at times even by the experienced glasser. Getting comfortable for a glassing session in a prime location isn’t just always about what you can see or how comfortable your seat is. Those are both very important, but factors like glare, wind inhibiting your stability or even just looking where you are about to sit can make a difference. In Wyoming, where we have lots and lots of wind, a lot of the time mature animals like to bed with the wind at their backs and on the hillsides out of the wind. This generally means that you have to face the wind to find them, but small angles can make all the difference in the world when looking towards the wind or sun. Just this past season we had to be out in 40+ mph wind and we were set up again looking directly into the wind towards the west. I was able to find a unique spot where the wind rammed right into a cliff below me and vaulted upward into the air enough to block a little of the incoming wind from the west like a wave crashing into a cliff. I was able to tuck in and glass with my binocular tripod setup and get surprisingly comfortable. Obviously things like cactus, ants or rocks that will pierce your sweet new high speed hunting pant in that perfect spot to keep on ripping over time are things to watch out for.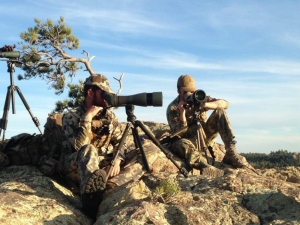
A butt-pad, seat or mat that is foldable and light enough for you to carry around is an awesome accessory. I’ve seen guys make use of camping equipment, turkey hunting pads and cozy comfortable chairs that really allow you to put forth all your energy and effort into glassing and analyzing the terrain and looking for movement or that unique silhouette of a bedded animal. A glassing pad will also keep you quite a bit warmer on those cold or damp days.
Location:
Another obvious but sometimes not thought out aspect of glassing. Even on a place that i have hunted for years, I am still looking for that next great glassing spot that will give us insight into seeing where big bucks or wintering bulls like to bed or funnel into feeding areas. Evening spots may not be the same as morning spots depending on the sun and the wind for that particular day. Keep in mind that location for glassing spots can be valued not only for spotting game but for seeing the route in order to gameplan a potential stalk or approach. An area never looks the same from a distance but when you hunt complex western mountain terrain you will take all the logistical help you can get.
Technique & Visualisation:
Sitting down and getting comfortable with your tried and true bino/spotter setup or the new set of glass you just picked up. There is something to be said about the excitement and anticipation of sitting down anywhere and rushing to the optics to see who can see the first giant tucked up under a rock or that herd of elk lurking in the timber. Lets run through the methods of glassing and touch on each on of them. I think there is plenty of value to each of them so lets discuss them all.
Grid or Painting methods: Siting and either starting from left or right of your view and moving up and down over a landscape in a grid like fashion, never to go much outside one width of your field of view on your optic. Similar to painting a landscape with the field of view of your binoculars or spotting scope. Some folks go up and down, maybe sometimes its better to go back and forth. Making sure that your focus is correct for the different distances is important here as you need definition to pick out those critters. The speed at which this method can be done is also a debate in its self. Some glassers like to just pick apart the landscape spending lots of time in one location, others like to glass the entire vista but will maybe move faster in order to re-locate and look at more country. The situation may determine which of these techniques is the best one.
Scanning & Skimming: Finding primary areas where you expect animals to bed or take cover as well as feeding areas that you have typically observed animals in previously. Focusing on those primary areas and then moving to surrounding areas as your secondary targets. Pinch points, bottom areas, bowls and saddles are often popular to check with this method. Obviously traveled areas where game moves from water or food sources to bedding areas is another. To really sum up these primary spots the area has to look “gamey” or in your hunting experience if you can imagine a Deer or Elk there and it looks good to you, then check it out.
Regardless of your method, I think it is safe to say that looking over the entire vista or landscape is a good idea. Personally I am never in a rush to finish glassing. I don’t like to leave an area un-gazed upon so to say. I like somewhat of a hybrid approach to the methods discussed above. I will pick out primary areas with the binos when I sit down and then follow back up in those areas as i progress through the session. As I see game i will transition back and forth from the binoculars to the spotter, all of which are on a tripod of course. Just because you don’t have big power binoculars doesn’t mean you won’t be more successful putting your 8x or 10x binos on a tripod. Please give this a shot, you will be amazed at how relaxing and productive glassing through binos on a tripod can be. Combing down a ridge line or draw that has plenty of water and cover is a nice opportunity to grid with your glass. Take advantage of your optics field of view and light gathering ability to slowing move through these types of areas and visualize what a bedded writer might look like if you could only see the top third of it behind some brush or what a dark grey muley might look like up against a shale rock formation. Animals aren’t always going to be standing out on a hillside in the open broadside. They are 3 dimensional and you have to look for features and contrast rather than silhouettes sometimes. There is something to be said for spotting a hidden buck or bull when he is tucked up in a nook that you would almost have to step on him to find him otherwise! Happy Glassing!
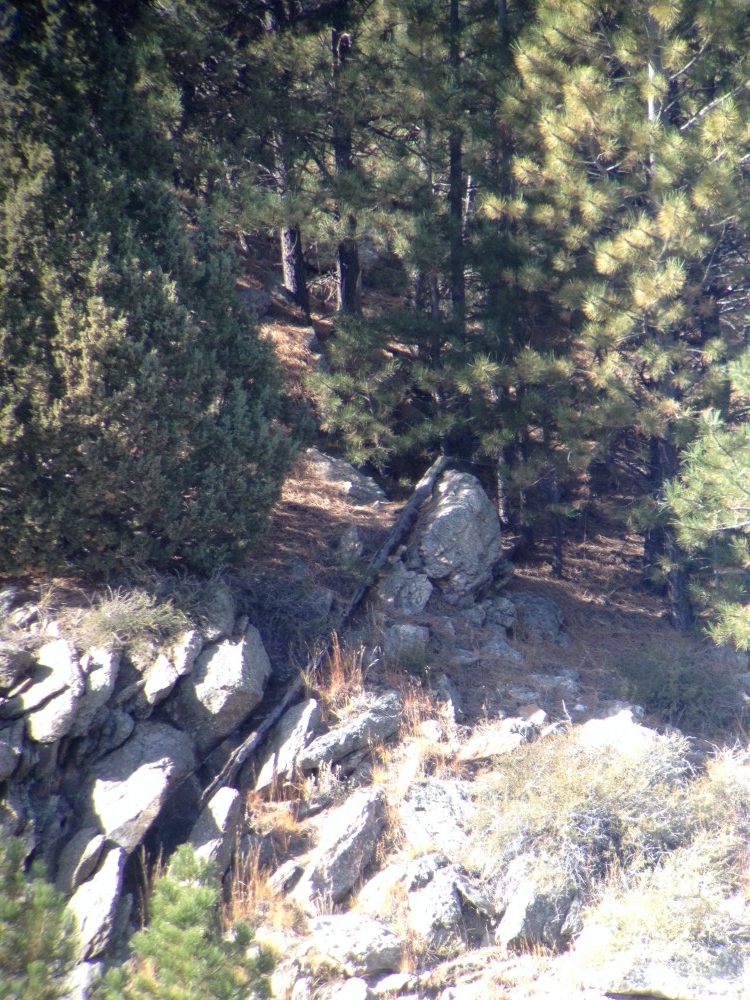
(There is a YUGE BULL in there, trust me, can you seen him?)

